

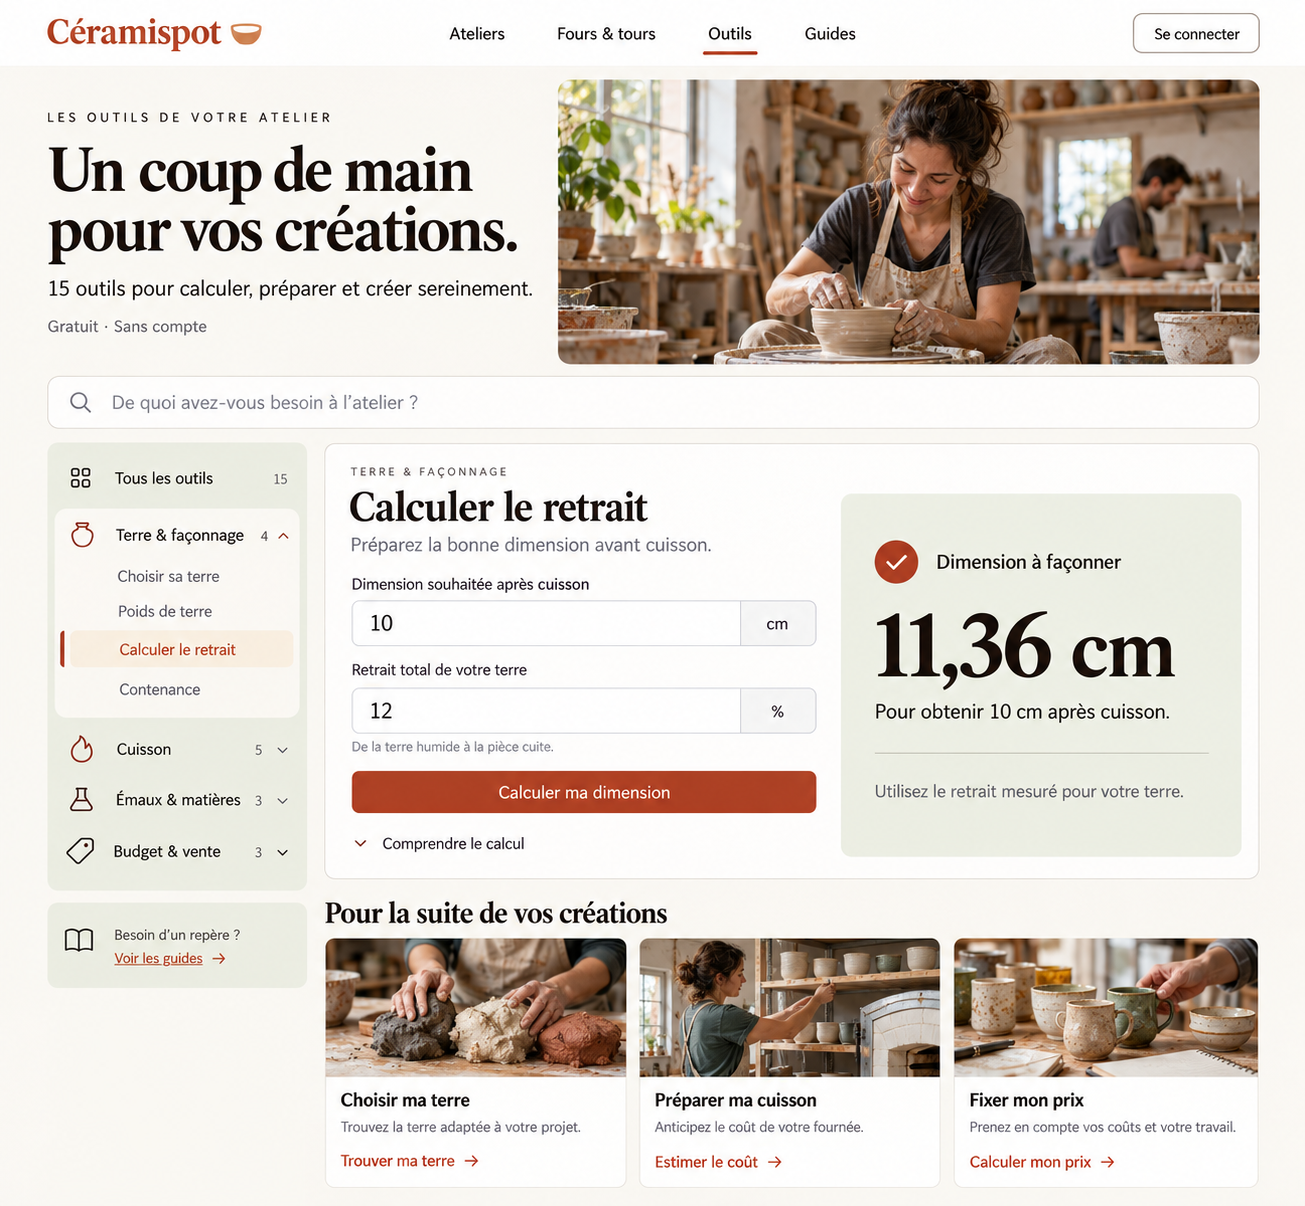
TOOLS FOR YOUR STUDIO
A helping hand
for your creations.
15 free tools to calculate, prepare
and create with confidence.
We hope these tools help you bring your ideas to life… and inspire new ones.
Your studio tools
All tools
Let’s try another word.
You can search for “bowl”, “glaze”, “price”, or return to all tools.
Clay & forming
Choose your material, plan dimensions and prepare just what you need.
Clay & formingChoose your clay
Which clay family should you explore for your project and firing?Open / close the tool
Guide your choice according to the available firing, technique and intended use of the piece.
Enter your parameters to prepare your result.
Understand the calculation
The tool first applies the firing and use constraints, then suggests a clay family to explore. It does not assign an artificial score that can offset an incompatible firing temperature.
This is editorial guidance: the specific product’s data sheet, tests and studio conditions determine the final choice. No average shrinkage or food-use suitability is automatically inferred from a clay family.
References
Clay & formingPlan your clay quantity
Estimate the clay to prepare from the shape, shrinkage and your measurements.Open / close the tool
Prepare the right quantity from the shape, thicknesses and shrinkage.
Enter your parameters to prepare your result.
Understand the calculation
Material volume is calculated as the difference between the outer volume and the cavity, or as area × thickness for a slab. Dimensions remain editable.
If the dimensions are those of the fired piece: k = 1 − shrinkage/100; wet volume = final volume / k³. Wet mass = wet volume × wet density; quantity to prepare = mass × (1 + reserve/100).
The cylinder and truncated cone include a separate base. The rounded bowl uses two concentric spherical caps. These models describe ideal geometries, without an added foot, handle or decoration.
References
Clay & formingCalculate shrinkage
Convert desired dimensions to the dimensions to make.Open / close the tool
Prepare the right dimension before firing.
Enter your parameters to prepare your result.
Understand the calculation
Shrinkage = (wet length − fired length) ÷ wet length. Wet dimension = final dimension ÷ (1 − shrinkage). Final dimension = wet dimension × (1 − shrinkage).
Two successive shrinkages a and b give 1 − (1 − a) × (1 − b). Example: 6 % followed by 7 % gives 12.58 %. Zero shrinkage is accepted. A missing value is never replaced with zero.
The calculation does not assign an automatic shrinkage value to a clay family. A test bar must reproduce the clay body and firing cycle actually used.
References
Clay & formingFind the capacity
Estimate the internal volume of a bowl, mug or vessel.Open / close the tool
Calculate the brimful and genuinely usable volumes from internal measurements.
Enter your parameters to prepare your result.
Understand the calculation
Internal dimensions of the fired piece, in cm. One cm³ equals one ml. Cylinder: V = πr²h. Truncated cone: V = πh(R² + Rr + r²)/3.
Spherical cap with rim radius a and depth h: sphere radius S = (a² + h²)/(2h), then V = πh²(S − h/3). The usable volume is recalculated using the liquid height in this same sphere.
For the truncated cone, the radius at the liquid level is interpolated linearly. The total volume is not simply multiplied by a fill percentage.
Firing
Understand heating, prepare a kiln load and estimate its cost.
FiringCones & temperatures
Compare Orton reference values by final heating rate.Open / close the tool
Look up Orton self-supporting cone equivalents, taking the final heating rate into account.
Enter your parameters to prepare your result.
Understand the calculation
Cones respond to heatwork, which depends on time and temperature. This tool uses the Celsius table for Orton self-supporting Regular cones, at 15, 60 and 150 °C/h over the last 100 degrees.
Missing values remain “Not published”. The reverse lookup brackets the temperature between two existing rows; it does not artificially assign it to the nearest cone. Small cones, large cones mounted differently, Iron Free, Seger and other brands require their own charts.
References
FiringPrepare your firing curve
Add the ramps and holds in your firing programme.Open / close the tool
Prepare segments and check their duration, including holds and controlled cooling ramps.
Enter your parameters to prepare your result.
Understand the calculation
Segment duration = |target temperature − previous temperature| / rate + hold. Ramps use °C/h and holds are entered in minutes.
A target equal to the previous temperature describes a hold only. Durations are added before rounding the total to the nearest minute. No invented natural cooling time is added.
References
FiringEstimate firing cost
Use your measured kWh or a clearly detailed estimate.Open / close the tool
Separate electricity, other expenses and the cost per piece using measured or estimated energy consumption.
Enter your parameters to prepare your result.
Understand the calculation
Estimated consumption (kWh) = power (kW) × time under temperature control (h) × average proportion of rated power used. Electricity cost = kWh × tariff. Measured mode replaces this estimate with the actual reading.
Total entered cost = electricity + maintenance + allocated equipment cost + value of time. The result per piece is this total divided by a strictly positive whole number.
The programme may continue powering the elements during controlled cooling. How full the kiln is and the proportion of electrical power used are two different things. No dated energy tariff or universal consumption factor is imposed.
References
FiringPlan a kiln load
Prepare a theoretical loading plan using your clearances.Open / close the tool
Estimate the number of pieces, levels and firings required.
Enter your parameters to prepare your result.
Understand the calculation
Centres are counted on several offset straight and hexagonal grids. Each disc must fit entirely within the usable shelf area and remain separated from its neighbours by the entered gap.
For n levels: occupied height = height below the first shelf + n × (shelf thickness + piece height) + (n − 1) × clearance between levels + clearance below the lid. The number of firings is rounded up to the next whole number.
The average batch cost uses all required firings, including the partially loaded final one. Props and obstacles are not modelled; the result remains a geometric estimate to confirm.
References
FiringUnderstand a defect
Explore possible causes and checks to carry out in the studio.Open / close the tool
Identify possible causes to examine and prepare a focused test based on the observed defect.
Enter your parameters to prepare your result.
Understand the calculation
The stage and symptom select a list of possible causes, not a calculated probability. Several mechanisms can produce the same appearance.
A useful test changes only one variable at a time and retains a control sample. The clay, glaze and kiln instructions are still needed; a programme suggested for another studio cannot automatically be transferred.
References
Glazes & materials
Weigh accurately, adjust a suspension and observe your tests.
Glazes & materialsWeigh your glaze recipe
Scale a base and keep additions distinct from the recipe.Open / close the tool
Convert proportions to grams while keeping additives separate from the base.
Enter your parameters to prepare your result.
Understand the calculation
The base is always normalised: material mass = material parts / total parts × base mass. Additives are calculated in addition: additive mass = percentage × base mass / 100.
If you choose a total M including additives: base mass = M/(1 + sum of additive percentages/100). This distinction prevents a 100 + 8 recipe from silently becoming a recipe totalling 100.
References
Glazes & materialsMeasure density
Measure density and calculate dilution with water.Open / close the tool
Measure your mixture and estimate dilution using your own target.
Enter your parameters to prepare your result.
Understand the calculation
Density ρ = (full mass − tare)/sample volume. Specific gravity is ρ/ρwater; the studio approximation used is ρwater = 1 g/ml.
Diluting a volume V: water addition x = V(ρcurrent − ρtarget)/(ρtarget − 1), assuming additive volumes. A target higher than the measured value cannot be achieved by adding water.
Casting slip behaviour also depends on viscosity and deflocculation. A density measurement alone does not provide a deflocculant dosage.
References
Glazes & materialsClay / glaze fit
Distinguish crazing from shivering, then prepare targeted tests.Open / close the tool
Prepare a measured series of tests and document the fit between clay and glaze.
Enter your parameters to prepare your result.
Understand the calculation
The starting recipe is normalised to 100 parts. Each variant adds or subtracts n × step from the selected material, then all materials are renormalised to the desired base mass.
This series is a weighing tool, not a glaze-fit predictor. Thermal expansion, melting, clay and firing interact; changing a material does not guarantee the defect will disappear. An unchanged control accompanies the variants.
References
Budget & selling
Put figures to your projects to make decisions with greater confidence.
Budget & sellingBuy or rent?
Compare two budgets based on your practice and costs.Open / close the tool
Compare two budgets at the same activity level, using your quotations and actual firing frequency.
Enter your parameters to prepare your result.
Understand the calculation
Home expenses = initial investment + number of months × (sessions × consumables + firings × variable cost + monthly expenses). Studio expenses = number of months × (sessions × price and extras + firings × studio firing rate + monthly expenses).
Payback period = investment ÷ monthly saving, only when that saving is strictly positive. The number of firings is entered; no arbitrary conversion from the number of sessions is applied.
The suggested amounts are a calculation example, not market prices or a purchase recommendation.
References
Budget & sellingSet the price of a piece
Include materials, time, losses and fees without confusing margin and mark-up.Open / close the tool
Cost the work, losses and selling expenses, then choose a mark-up or a margin on the price.
Enter your parameters to prepare your result.
Understand the calculation
Cost per saleable piece C = (materials + firing + production expenses + labour) ÷ (1 − loss rate) + packaging + fixed selling expenses. Losses apply to production; packaging pays only for pieces sold.
If c is the fee rate on the price excluding VAT: price excluding VAT = C × (1 + mark-up) ÷ (1 − c). For a margin m expressed as a share of the price excluding VAT after fees: price excluding VAT = C ÷ (1 − c − m).
If fees are charged on the VAT-inclusive price, replace c with c × (1 + VAT rate). Price including VAT = price excluding VAT × (1 + VAT rate). The sum of the rates must not absorb the whole price. Rounding is applied only when displaying values.
References
Budget & sellingConvert your units
Convert dimensions, masses, volumes and temperatures.Open / close the tool
Lengths, masses, volumes, temperatures and firing rates, without confusing US and imperial units.
Enter your parameters to prepare your result.
Understand the calculation
Linear conversions use unit factors: 1 inch = 2.54 cm, 1 pound = 453.59237 g, 1 US liquid gallon = 3.785411784 L, 1 imperial gallon = 4.54609 L.
Temperature: °F = °C × 9/5 + 32; K = °C + 273.15. For a rate or temperature difference, the offset of 32 disappears: 1 °C/h = 1.8 °F/h. Calculations retain their precision before display.
References
For your next creations
At your own pace, one small step at a time.
WHAT’S NEXT
Ready to create something new?
A little curiosity,
and ideas start flowing…
BEFORE YOU GET YOUR HANDS INTO CLAY
A question before
you get started?
A few answers, when you need them.
Are the tools free?
Yes. The 15 tools on this page are available without creating an account. Calculations run in your browser; the values you enter stay on your device. Relevant measurements are attached only if you send us a report.
Can I use the prefilled values?
They show how the tool works. Replace them with your dimensions, measured shrinkage, product data and costs before using the result for a project.
How accurate are the results?
Each tool explains its method and limitations. Geometric models assume regular shapes. Distortion, additions, losses and actual settings can change the result. Weight, capacity and firing estimates are reference points to check.
Where can I find my clay’s shrinkage?
The supplier’s data sheet may provide a reference for a specified firing. For your project, measure the same distance on a wet test bar and then after the final firing. The shrinkage calculator helps you convert this measurement into a percentage.
Open the shrinkage calculator →How do I prepare my template?
Choose your material and a shape, adjust the dimensions, then download the PDF or SVG. Print at 100 % and measure the 50 mm reference mark. Each project page identifies the calculated cut-outs and the parts to model or adjust.
Open the template creator →
WE’RE SAVING YOU A PLACE
The tools are here to help.
Your hands do the rest.
A first bowl, a desire to learn… and the pleasure of creating together.
Find a studioYour next creation
might begin here.
Explained calculations and visible assumptions. For firing and final use, follow the data sheets for your clay, glazes and kiln. Studio and pottery visuals are illustrations.


